Package Summary
| Tags | No category tags. |
| Version | 1.0.2 |
| License | Apache License 2.0 |
| Build type | AMENT_PYTHON |
| Use | RECOMMENDED |
Repository Summary
| Description | This Repository is for all mechanisms on our channel Soft_illusion.. |
| Checkout URI | https://github.com/harshkakashaniya/soft_illusion.git |
| VCS Type | git |
| VCS Version | master |
| Last Updated | 2020-10-26 |
| Dev Status | UNMAINTAINED |
| CI status | No Continuous Integration |
| Released | UNRELEASED |
| Tags | No category tags. |
| Contributing |
Help Wanted (0)
Good First Issues (0) Pull Requests to Review (0) |
Package Description
Additional Links
Maintainers
- Cyberbotics
Authors
webots_ros2_examples
In this package you can find a collection of simple examples.
Thymio II
This package provides a very simple ROS2 node, launch file and simulation for Thymio II robot. It is a good starting point to create your own simulation and ROS2 interface with your own simulated robot.
Launching the Simulation
The package includes a launch file that will start Webots and the node that interfaces Webots and ROS2. This launch file can be called like this:
ros2 launch webots_ros2_examples example.launch.py
 Webots will start with the Thymio II differential wheel robot and the
 example_controller node will start.
This node acts as a Webots robot controller and publishes the value of the front distance-sensors of the robot on the /sensor topic and provides the /motor topic which can be used to change the speed of each wheel of the robot.
To quit the simulation and stop the launch file, you simply need to close Webots.
Interact with the Robot
Move the Robot
The /motor service can be tested directly using the ROS2 service CLI interface to move the robot:
ros2 service call /motor webots_ros2_msgs/SetDifferentialWheelSpeed "{ left_speed: 1.0, right_speed: 0.5 }"
Display the Sensor Value
The output of the sensor (/sensor topic) can be displayed directly using the ROS2 topic CLI interface
ros2 topic echo /sensor
Troubleshooting
If you see import failures or some indications saying that WEBOTS_HOME is incorrectly set, make sure your environment variables are configured for extern controllers.
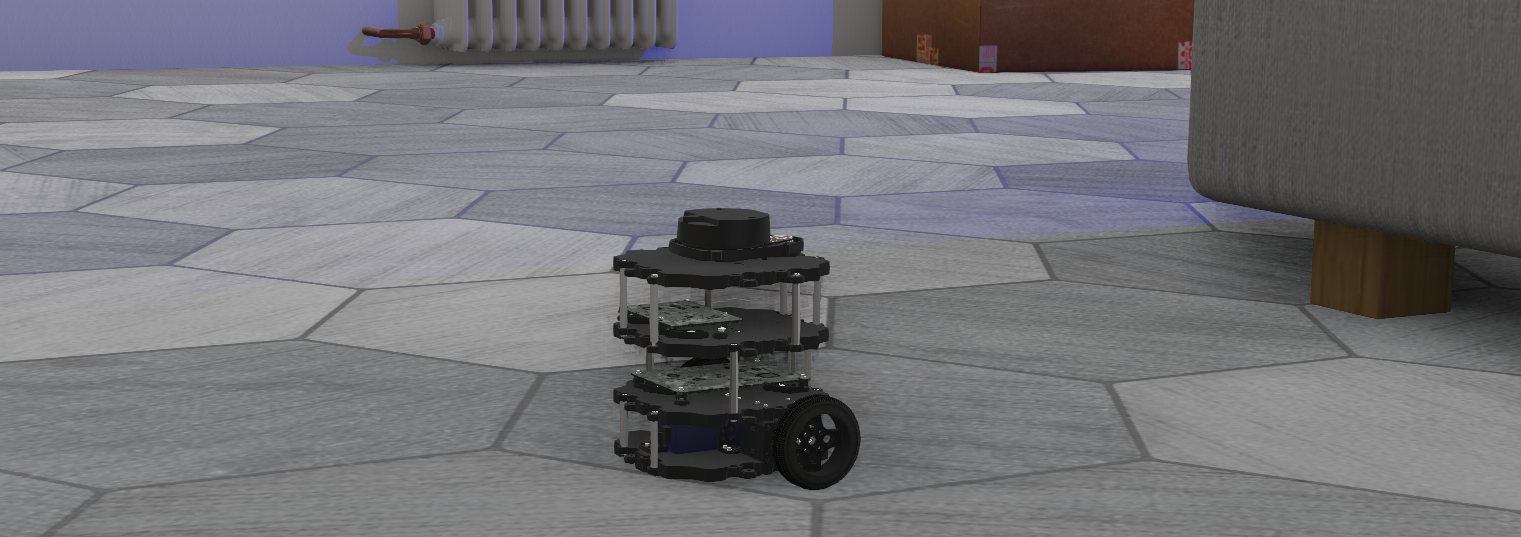
TurtleBot3 Burger

To run the TurtleBot3 Burger simulation you can use the universal launcher:
ros2 launch webots_ros2_core robot_launch.py \
    executable:=webots_differential_drive_node \
    node_parameters:=$(ros2 pkg prefix webots_ros2_examples --share)/resource/turtlebot3_burger.yaml \
    world:=$(ros2 pkg prefix webots_ros2_examples --share)/worlds/turtlebot3_burger_example.wbt
If you have turtlebot3 package installed you can start cartographer as (you may need to run the command twice if it fails the first time):
ros2 launch turtlebot3_cartographer cartographer.launch.py \
    use_sim_time:=true
Also, you can start navigation2 using a custom map:
export TURTLEBOT3_MODEL='burger'
ros2 launch turtlebot3_navigation2 navigation2.launch.py \
    use_sim_time:=true \
    map:=$(ros2 pkg prefix webots_ros2_examples --share)/resource/turtlebot3_burger_example_map.yaml
Make sure you set the initial pose by clicking 2D Pose Estimate button in RViz or by executing the following command:
ros2 topic pub --once /initialpose geometry_msgs/msg/PoseWithCovarianceStamped '{
    "header": { "frame_id": "map" },
    "pose": {
        "pose": {
            "position": { "x": 0.0, "y": 0.0, "z": 0.0 },
            "orientation": { "x": 0.0, "y": 0.0, "z": 0.0, "w": 1.0 }
        }
    }
}'
On the official TurtleBot3 website you can find more information about navigation and SLAM configuration.
This will expose necessary topics:
$ ros2 topic list -t
/scan [sensor_msgs/msg/LaserScan]
/cmd_vel [geometry_msgs/msg/Twist]
/imu [sensor_msgs/msg/Imu]
/joint_states [sensor_msgs/msg/JointState]
/odom [nav_msgs/msg/Odometry]
/robot_description [std_msgs/msg/String]
/tf [tf2_msgs/msg/TFMessage]
/tf_static [tf2_msgs/msg/TFMessage]
Khepera IV

Similarly to the TurtleBot3 Burger you can start the Khepera IV robot as well:
ros2 launch webots_ros2_core robot_launch.py \
    executable:=webots_differential_drive_node \
    node_parameters:=$(ros2 pkg prefix webots_ros2_examples --share)/resource/khepera4.yaml \
    world:=$(ros2 pkg prefix webots_ros2_examples --share)/worlds/khepera4_example.wbt
Or, if you want to have sensor_msgs/LaserScan topic you have to use a custom driver:
ros2 launch webots_ros2_core robot_launch.py \
    executable:=khepera_driver \
    package:=webots_ros2_examples \
    node_parameters:=$(ros2 pkg prefix webots_ros2_examples --share)/resource/khepera4.yaml \
    world:=$(ros2 pkg prefix webots_ros2_examples --share)/worlds/khepera4_example.wbt
Changelog for package webots_ros2_examples
1.0.0 (2020-09-01)
- Added a khepera_driver node
0.0.3 (2020-06-15)
- Added a new subscriber method to the [cmd_vel]{.title-ref} topic to control the robot velocity.
0.0.2 (2019-09-23)
- Initial version
Wiki Tutorials
Package Dependencies
| Deps | Name |
|---|---|
| rclpy | |
| std_msgs | |
| geometry_msgs | |
| builtin_interfaces | |
| sensor_msgs | |
| webots_ros2_msgs | |
| webots_ros2_core | |
| ament_copyright | |
| ament_flake8 | |
| ament_pep257 |
System Dependencies
| Name |
|---|
| python3-pytest |
Dependant Packages
| Name | Deps |
|---|---|
| webots_ros2 |
